Complete Metal Privacy Fence Systems
Metal Privacy Fence Systems
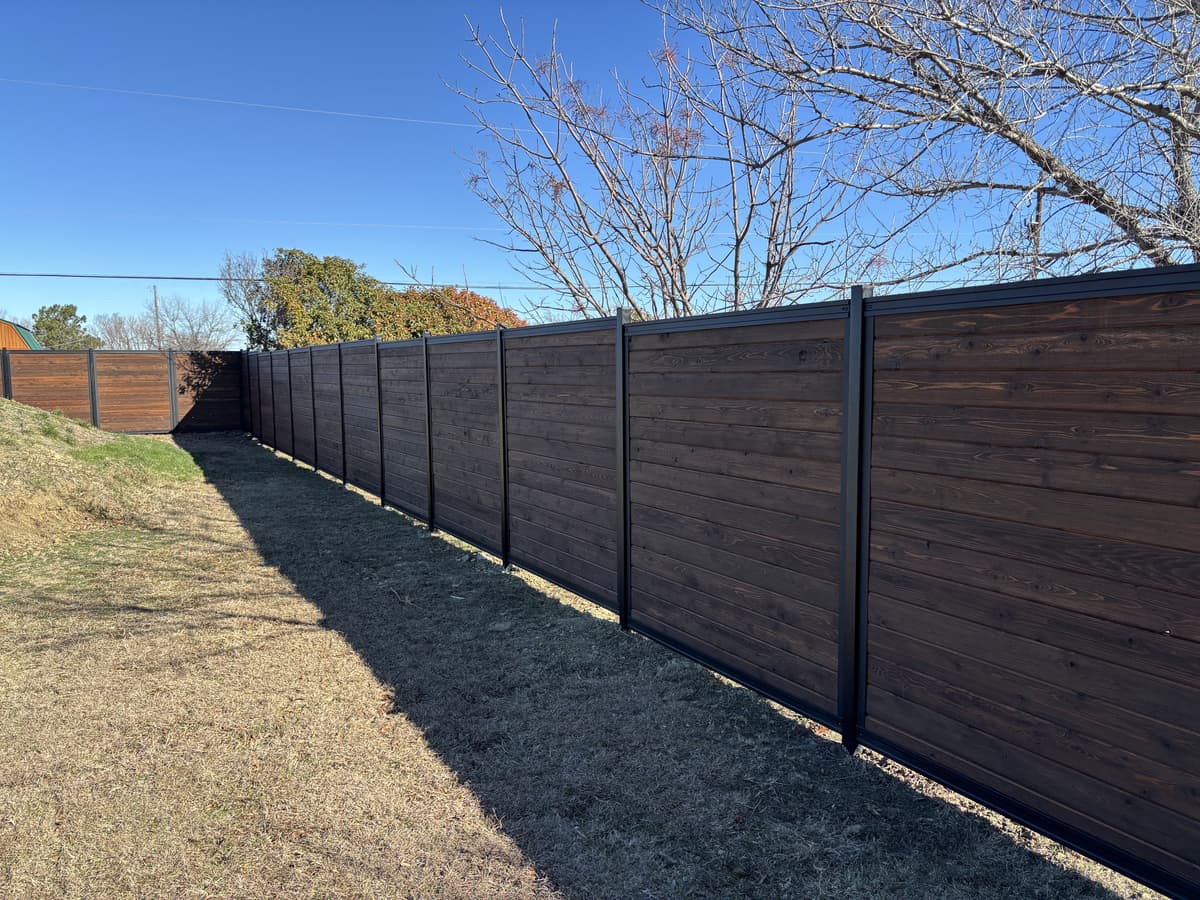
Perimtec metal privacy fence systems help buyers plan privacy fence panels for commercial screening, equipment enclosures, dumpster enclosures, residential privacy zones, and long perimeter runs. Start with the dedicated steel privacy system when the priority is a consistent all-steel screen with matching posts, panels, gates, hardware, and finish direction.
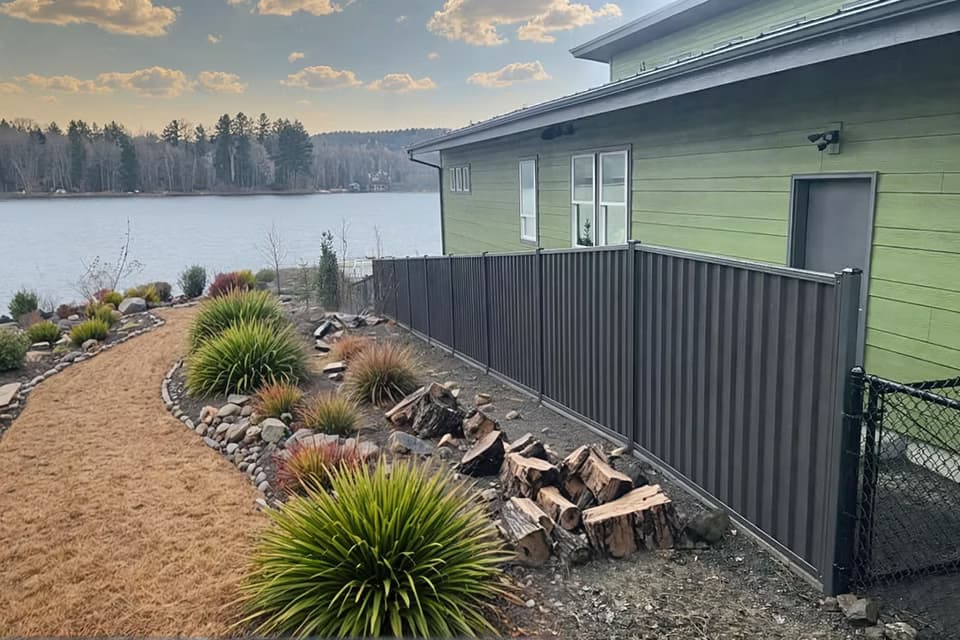
If the project needs a custom infill material or a mixed-material look, compare the steel frame fence system as an alternative path. This page is built to help you price the right metal privacy screening package before loose panels or one-off materials are adapted on site.
Metal Privacy Fence Panels
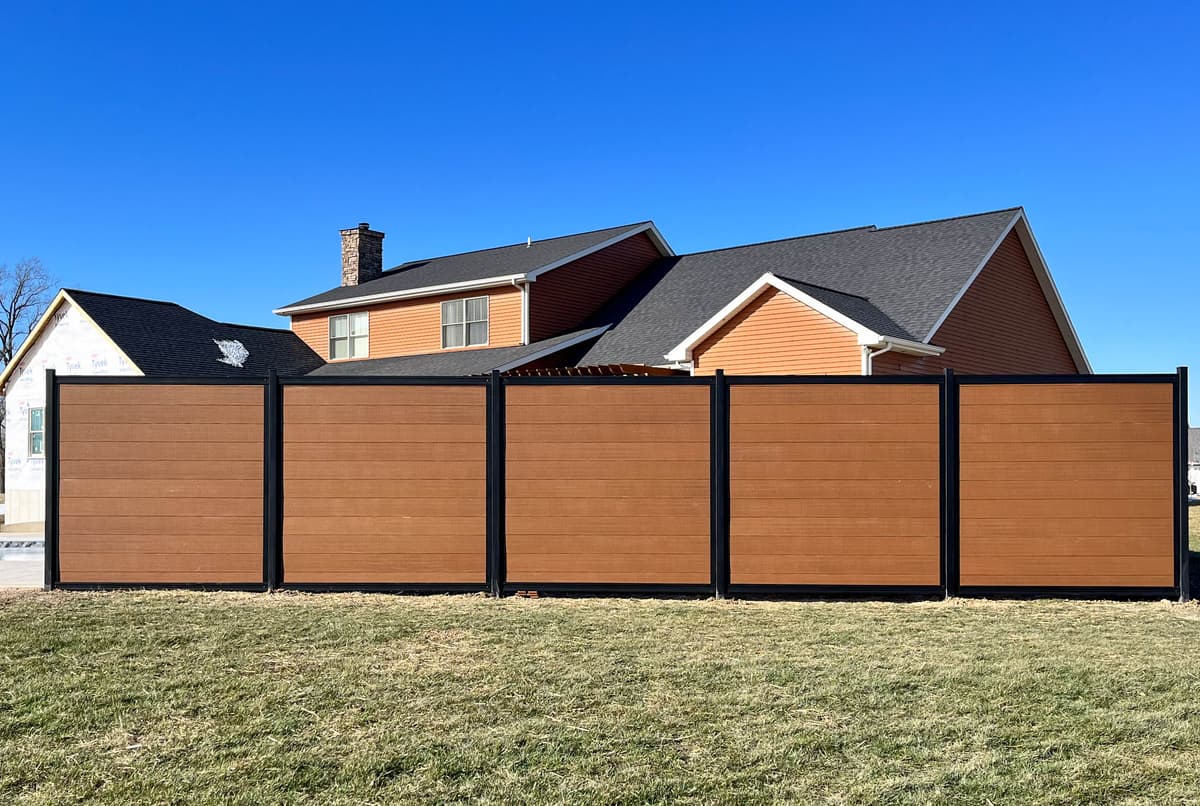
Compare metal privacy fence panels and compatible infill options for backyards, commercial screens, equipment areas, dumpster enclosures, and long perimeter runs.
Single Color Steel Privacy Fence System
Use the dedicated steel privacy system as the primary path when your project needs consistent all-steel screening for perimeter runs, utility areas, commercial edges, or wood-fence replacement.
Metal Fence Gates and Project Pricing
Plan matching metal fence gates, openings, hardware needs, and project pricing before finalizing your fence length, height, and panel direction.