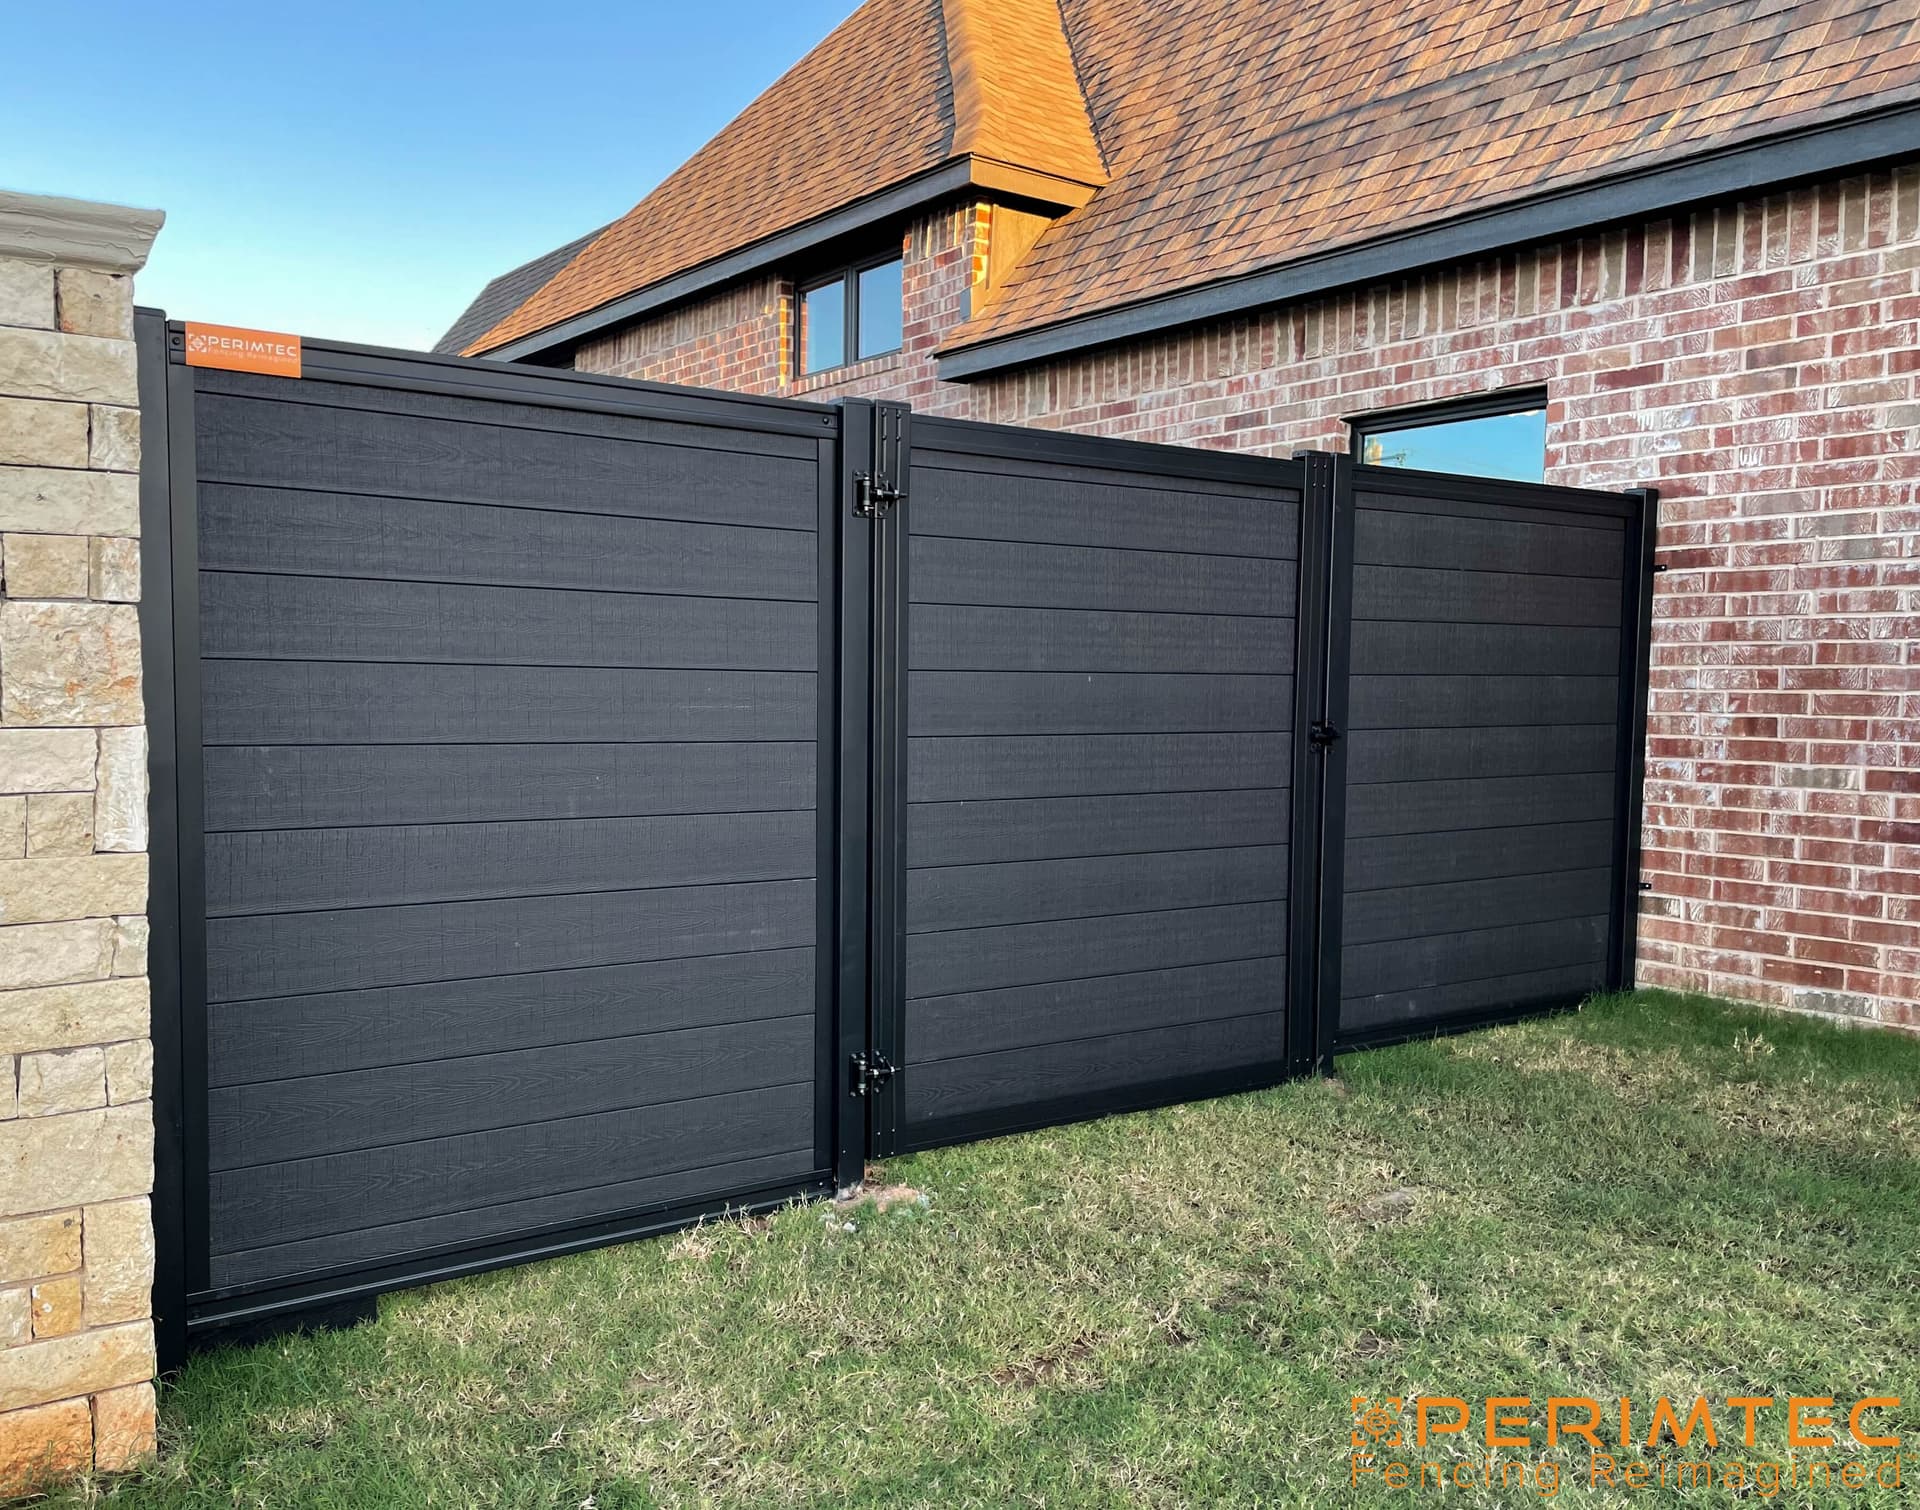
Fix Gap Under Fence Gate

So you just installed a new fence gate, slid it into place, and realized there’s a gap underneath it. That pesky gap lets in cold drafts, rainwater, and even small critters. But don’t worry, fixing a gap under a fence gate is an easy DIY project. With a few simple steps and materials, you can seal up that gap in no time.

Why Gaps Happen Under Gates

It’s incredibly common to end up with a gap under a new gate. Usually, it happens for a couple of reasons:

  • The ground wasn’t perfectly level when installing the gate. Even a small slope or uneven spot can leave a gap.
  • The gate wasn’t cut to the right height. If it’s too short, there will be space underneath.
  • The gate sagged or shifted over time after installation. Wood gates can be prone to sagging.

Luckily, no matter the cause, this problem is easy to remedy. Let’s look at how to do it.

Preparing the Area

Before sealing up the gap, you need to clean and level out the area underneath the gate. Here are the simple steps to get it ready:

  • Clear away any grass, plants, or debris from the gap area. You want bare dirt or concrete so the sealant can adhere.
  • Use a stiff broom to sweep away dirt or loose particles.
  • Pour a small bag of sand into the gap and use a trowel or board to smooth it flat and even. Compact the layer of sand to create a nice flat surface.
  • If there are any larger dips or uneven spots, use more sand to level those out too.

The goal is to end up with a flat, smooth layer of packed sand or dirt filling the gap that’s ready for the sealant.

Choosing Your Sealant

There are a few good options when it comes to sealing the gap under a gate:

Caulk: Caulk is inexpensive and easy to apply. It won’t last as long as other sealants, but it’s a good temporary solution. Look for exterior-grade silicone or latex caulks.

Concrete: Mixing up a batch of quick-drying concrete is another sturdy option. It will fully solidify to create a permanent seal. Post screws anchored in the ground on each side of the gap can help hold the concrete in place as it dries.

Foam Sealant: Foam sealants in a can are a great choice for filling gaps. They expand to fill the space completely and create a tight air seal. Look for minimal expanding foam that won’t over-rise.

Mortar: For large gaps, mortar is a good option. Mix it up to a stiff consistency and trowel it into the gap 1/2 inch deep. It will set up strong and permanent.

Any of these options can work well. Choose whichever is readily available or suits your preferences and budget.

Applying the Sealant

Once you’ve prepped the area and chosen a sealant, it’s time to seal up that pesky gap for good.

  1. Make sure the gap is completely clear of debris. Give it one more swipe with a broom if needed.
  2. Lightly dampen the sanded surface with water. This helps the sealant adhere properly.
  3. Apply your choice of sealant according to the manufacturer’s directions. For concrete, tamp it down well with a trowel or board as you fill the gap. For caulk, foam, or mortar, just follow the directions on the packaging.
  4. Smooth and level the sealant with a putty knife or trowel. For larger gaps, you may need to apply it in layers, allowing each layer to partially dry before adding more.
  5. Let the sealant fully cure based on drying times, usually 24-48 hours. Consult the product instructions.

Once the sealant has fully dried, the gap under your gate will be sealed up nicely and tight!

Troubleshooting Tricks to Fix Gap Under Fence Gate

If you end up with any cracks, holes, or weak spots in the seal after it dries, here are some troubleshooting tips:

  • For small cracks or crumbling spots, sweep away any loose material and use caulk or foam sealant to patch them up.
  • If the seal feels spongy or sinks, the ground underneath isn’t compacted enough. Remove the sealant, pack the gap tightly with more sand, and reapply a new seal.
  • For heavier sinking or washout damage, remove the old sealant completely and start over with new compacted sand and fresh sealant.

With a little extra patching and TLC, you can keep that underside of your gate sealed up for the long haul.

Preventing Future Gaps

To avoid having to redo this project year after year, here are some good steps for preventing gaps from forming again:

  • Check that the gate itself is plumb and level. Shim it if needed to reduce future sagging.
  • Install post caps on any exposed posts to prevent water from seeping into the wood and rotting.
  • Paint or seal the bottom edge of the gate regularly to reduce moisture damage over time.
  • Reseal the gap every couple of years as part of routine maintenance. Early touch-ups are much easier than big repairs down the road.

With some preventive care, your newly sealed gap should stay gap-free for many years to come! Ditch the drafts, rainwater, and critters sneaking under the gate. A sealed-up threshold helps your gate look nicer, last longer, and function properly in all weather. Tackling this simple fix is a satisfying DIY project that anyone can do.

We hope you enjoyed this article!

If  YES ›› please do us a favor and share this guide with your friends and colleagues on social media. Thank you! 🙂

If you have a website ›› feel free to share snippets of the article. We just ask that you provide a link back to this post as a thank you.

We appreciate you!

Pin It on Pinterest